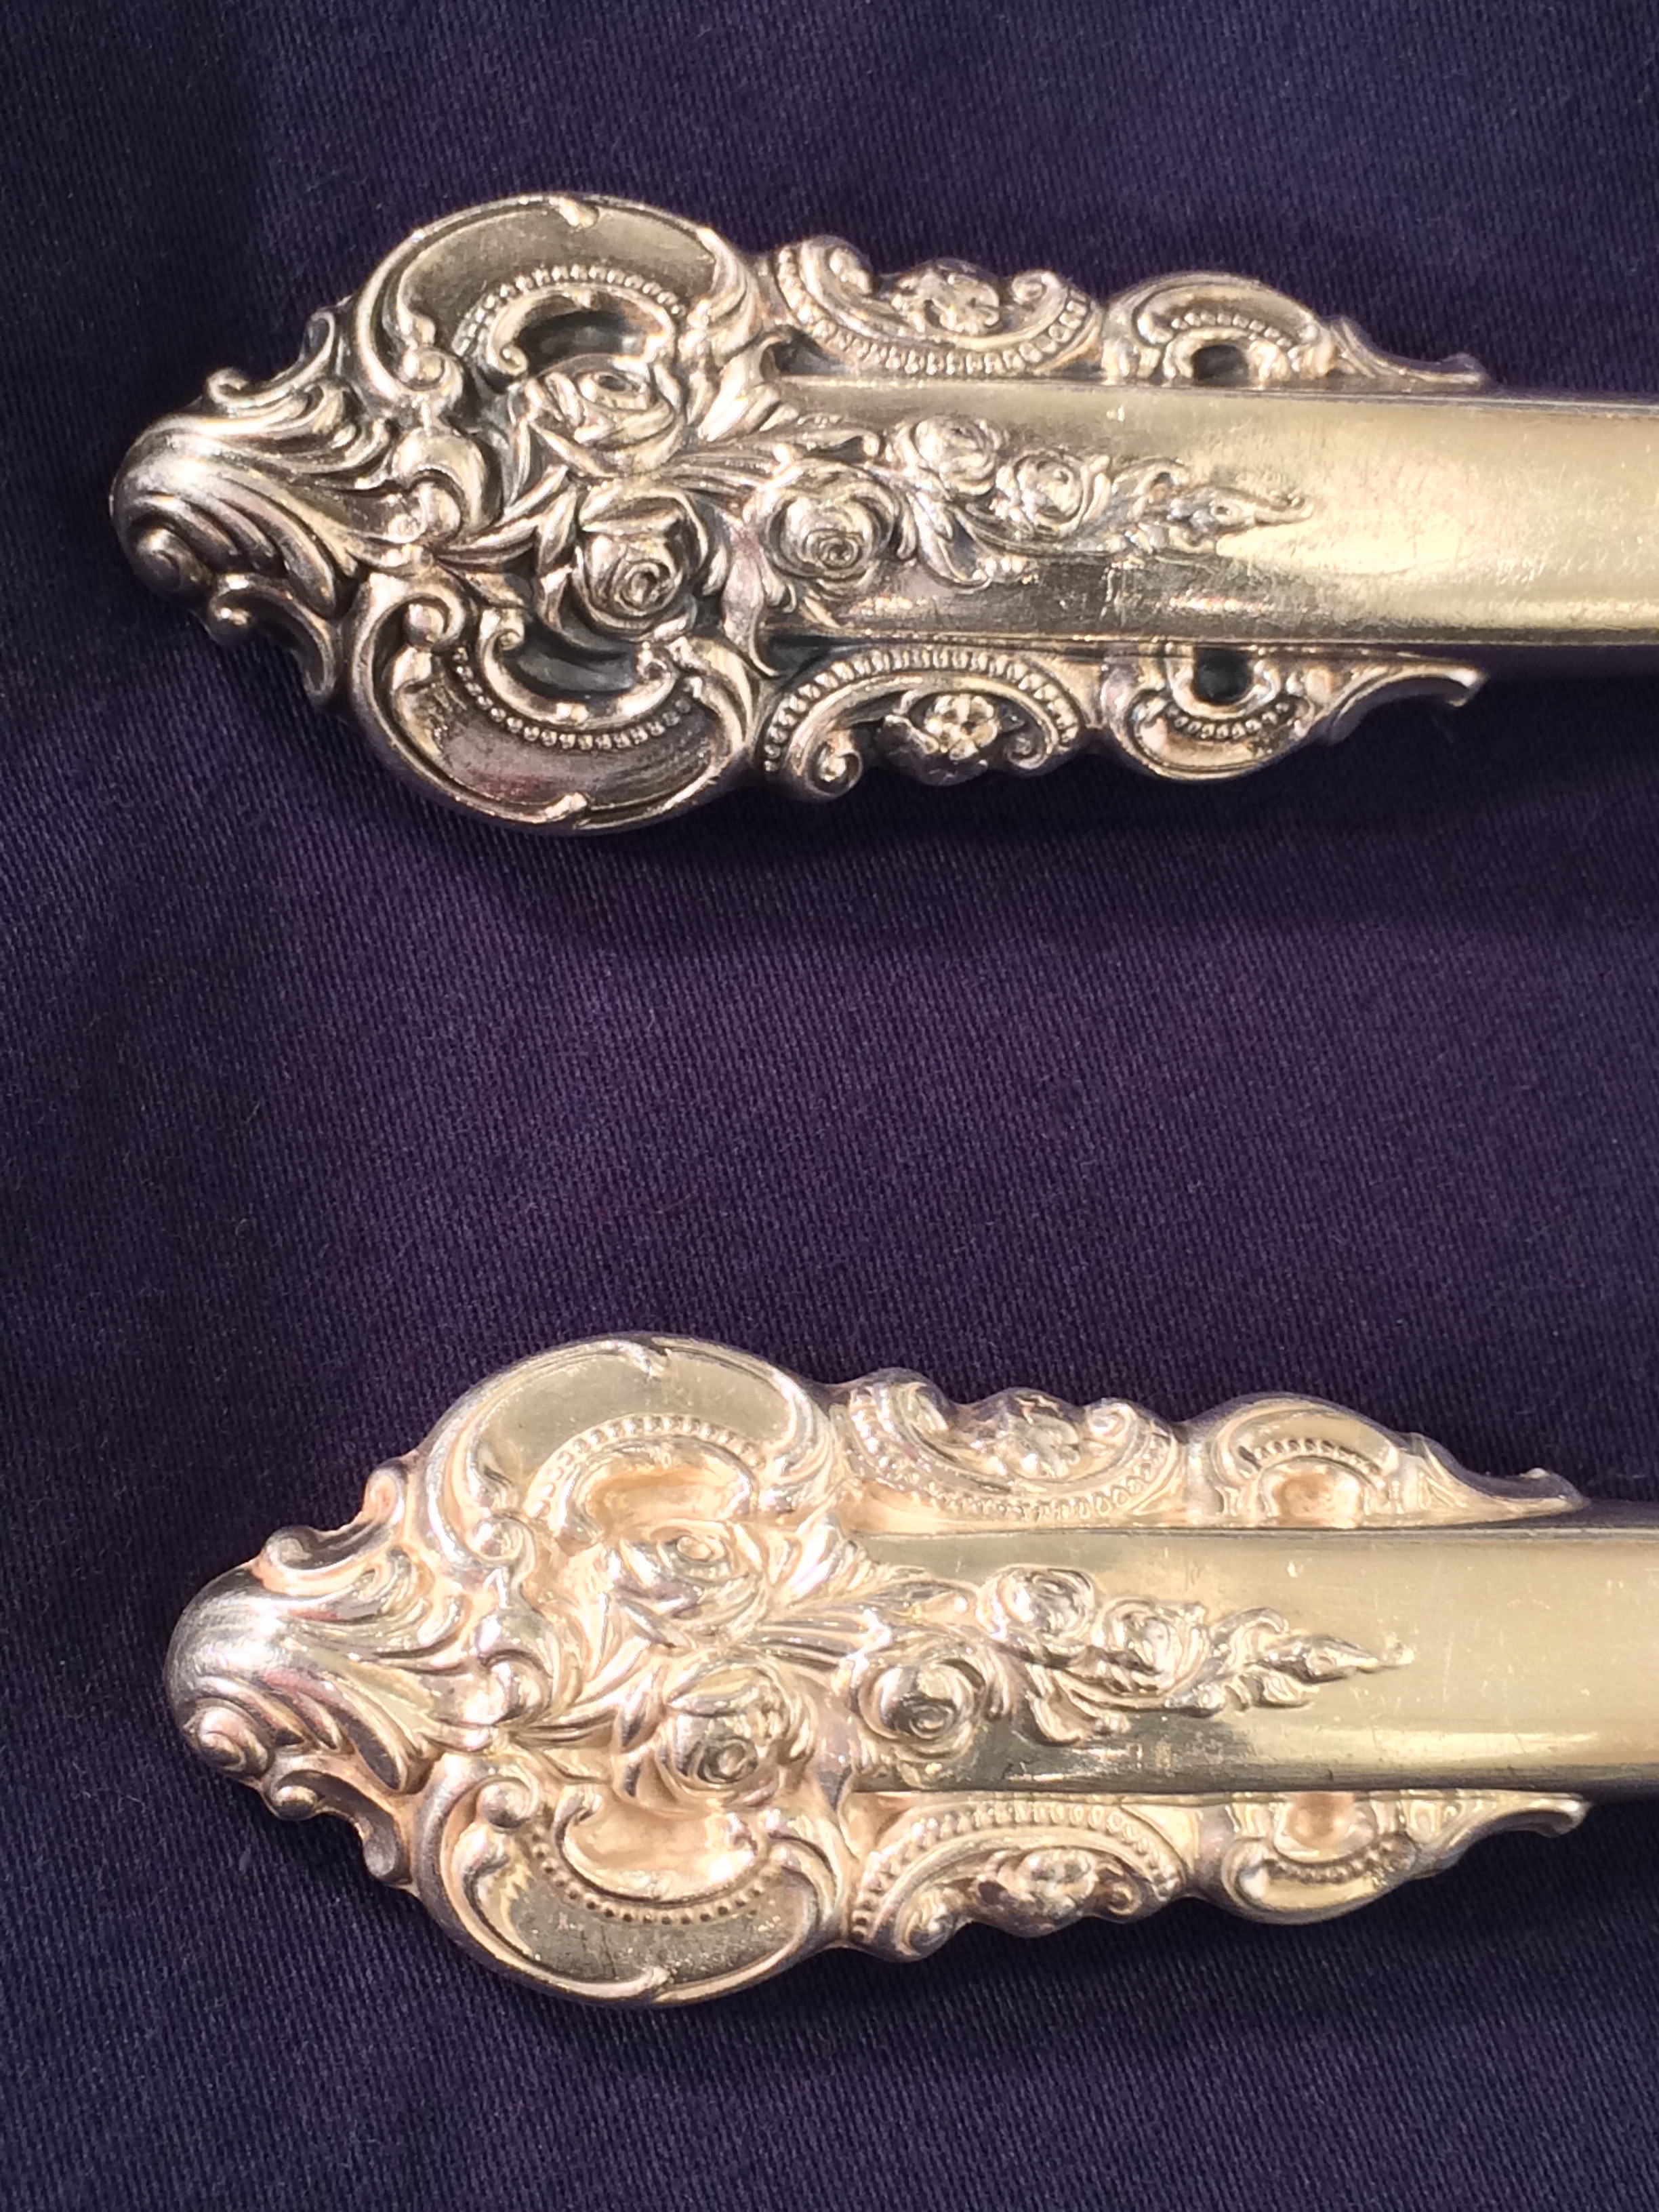
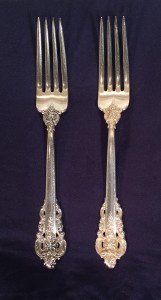
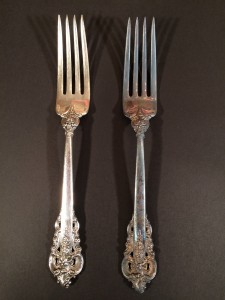
As the holidays approach and you pull the silver out, you often find that a bit of polishing may be in order. Sometimes a lot of polishing is in order. This may have tempted some to dip their silver pieces in the past. While this is a quick and easy way to brighten silver, it can remove the oxidation that was in place which makes the ornate engraved texture visible. This can also happen if you get distracted while polishing your silver and over polish. As you can see in the pair of forks below and above, while the lighter color fork is still pretty, it looks somehow unfinished. The details are much harder to see in the lighter fork. A few years ago I was faced with this problem and called a silver company to see how I could restore the piece. I, to my surprise, was told that it was a painstakingly difficult process and would cost several hundred dollars!
I decided to do some research instead. I came across liver of sulfur as a chemical that could be used, but didn’t like the idea of a chemical sitting around the house. I then came across the egg. What a simple, safe, and non toxic idea! The sulfur in the egg yolk oxidizes the silver.
It is a very simple process. First boil an egg. One per piece of silver works just find. Once the egg(s) are boiled, peel and then place in a gallon ziplock bag. Seal the bag with minimal air then crush the egg until the yolk is exposed. Check the bag periodically until the silver is oxidized to the color you desire. In this instance we wanted an almost black color.
Once the silver is the desired color remove it from the bag and wash the piece. You will see that it is quite tarnished. The first time you see it, you may wonder if you ruined your sterling. I know it still makes me uncomfortable.
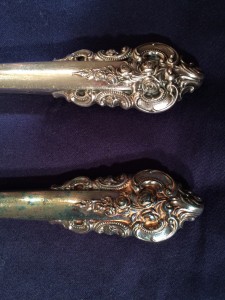
Here is a close up. A you can see, it is very tarnished, as if it has not been cared for in years. .
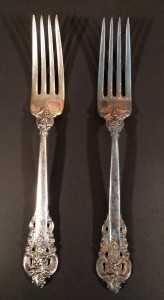
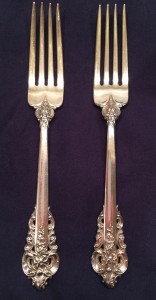
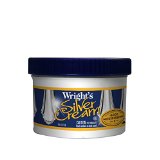
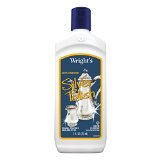
Next polish your silver with the silver polish of your choice. I use Wright’s silver polish because that is what my Mom always used. It comes in both a paste and a liquid. I have used both. I like the paste better as it gives me more control. Be careful not to over polish as that is what started the trouble in the first place. Below you can see the over polished fork on the right from the beginning of the process to the end. Now the silver looks as it was intended.
Note:
This also works for sterling silver jewelry. You can also use it when you want a slightly tarnished silver look such as might be desired during Halloween.
For polishing:
If you are interested in the product below, there is an embedded link in each picture (and highlighted words above) to make it convenient for you to click and get in time for the holidays.



This is fantastic. I will have to try it out.