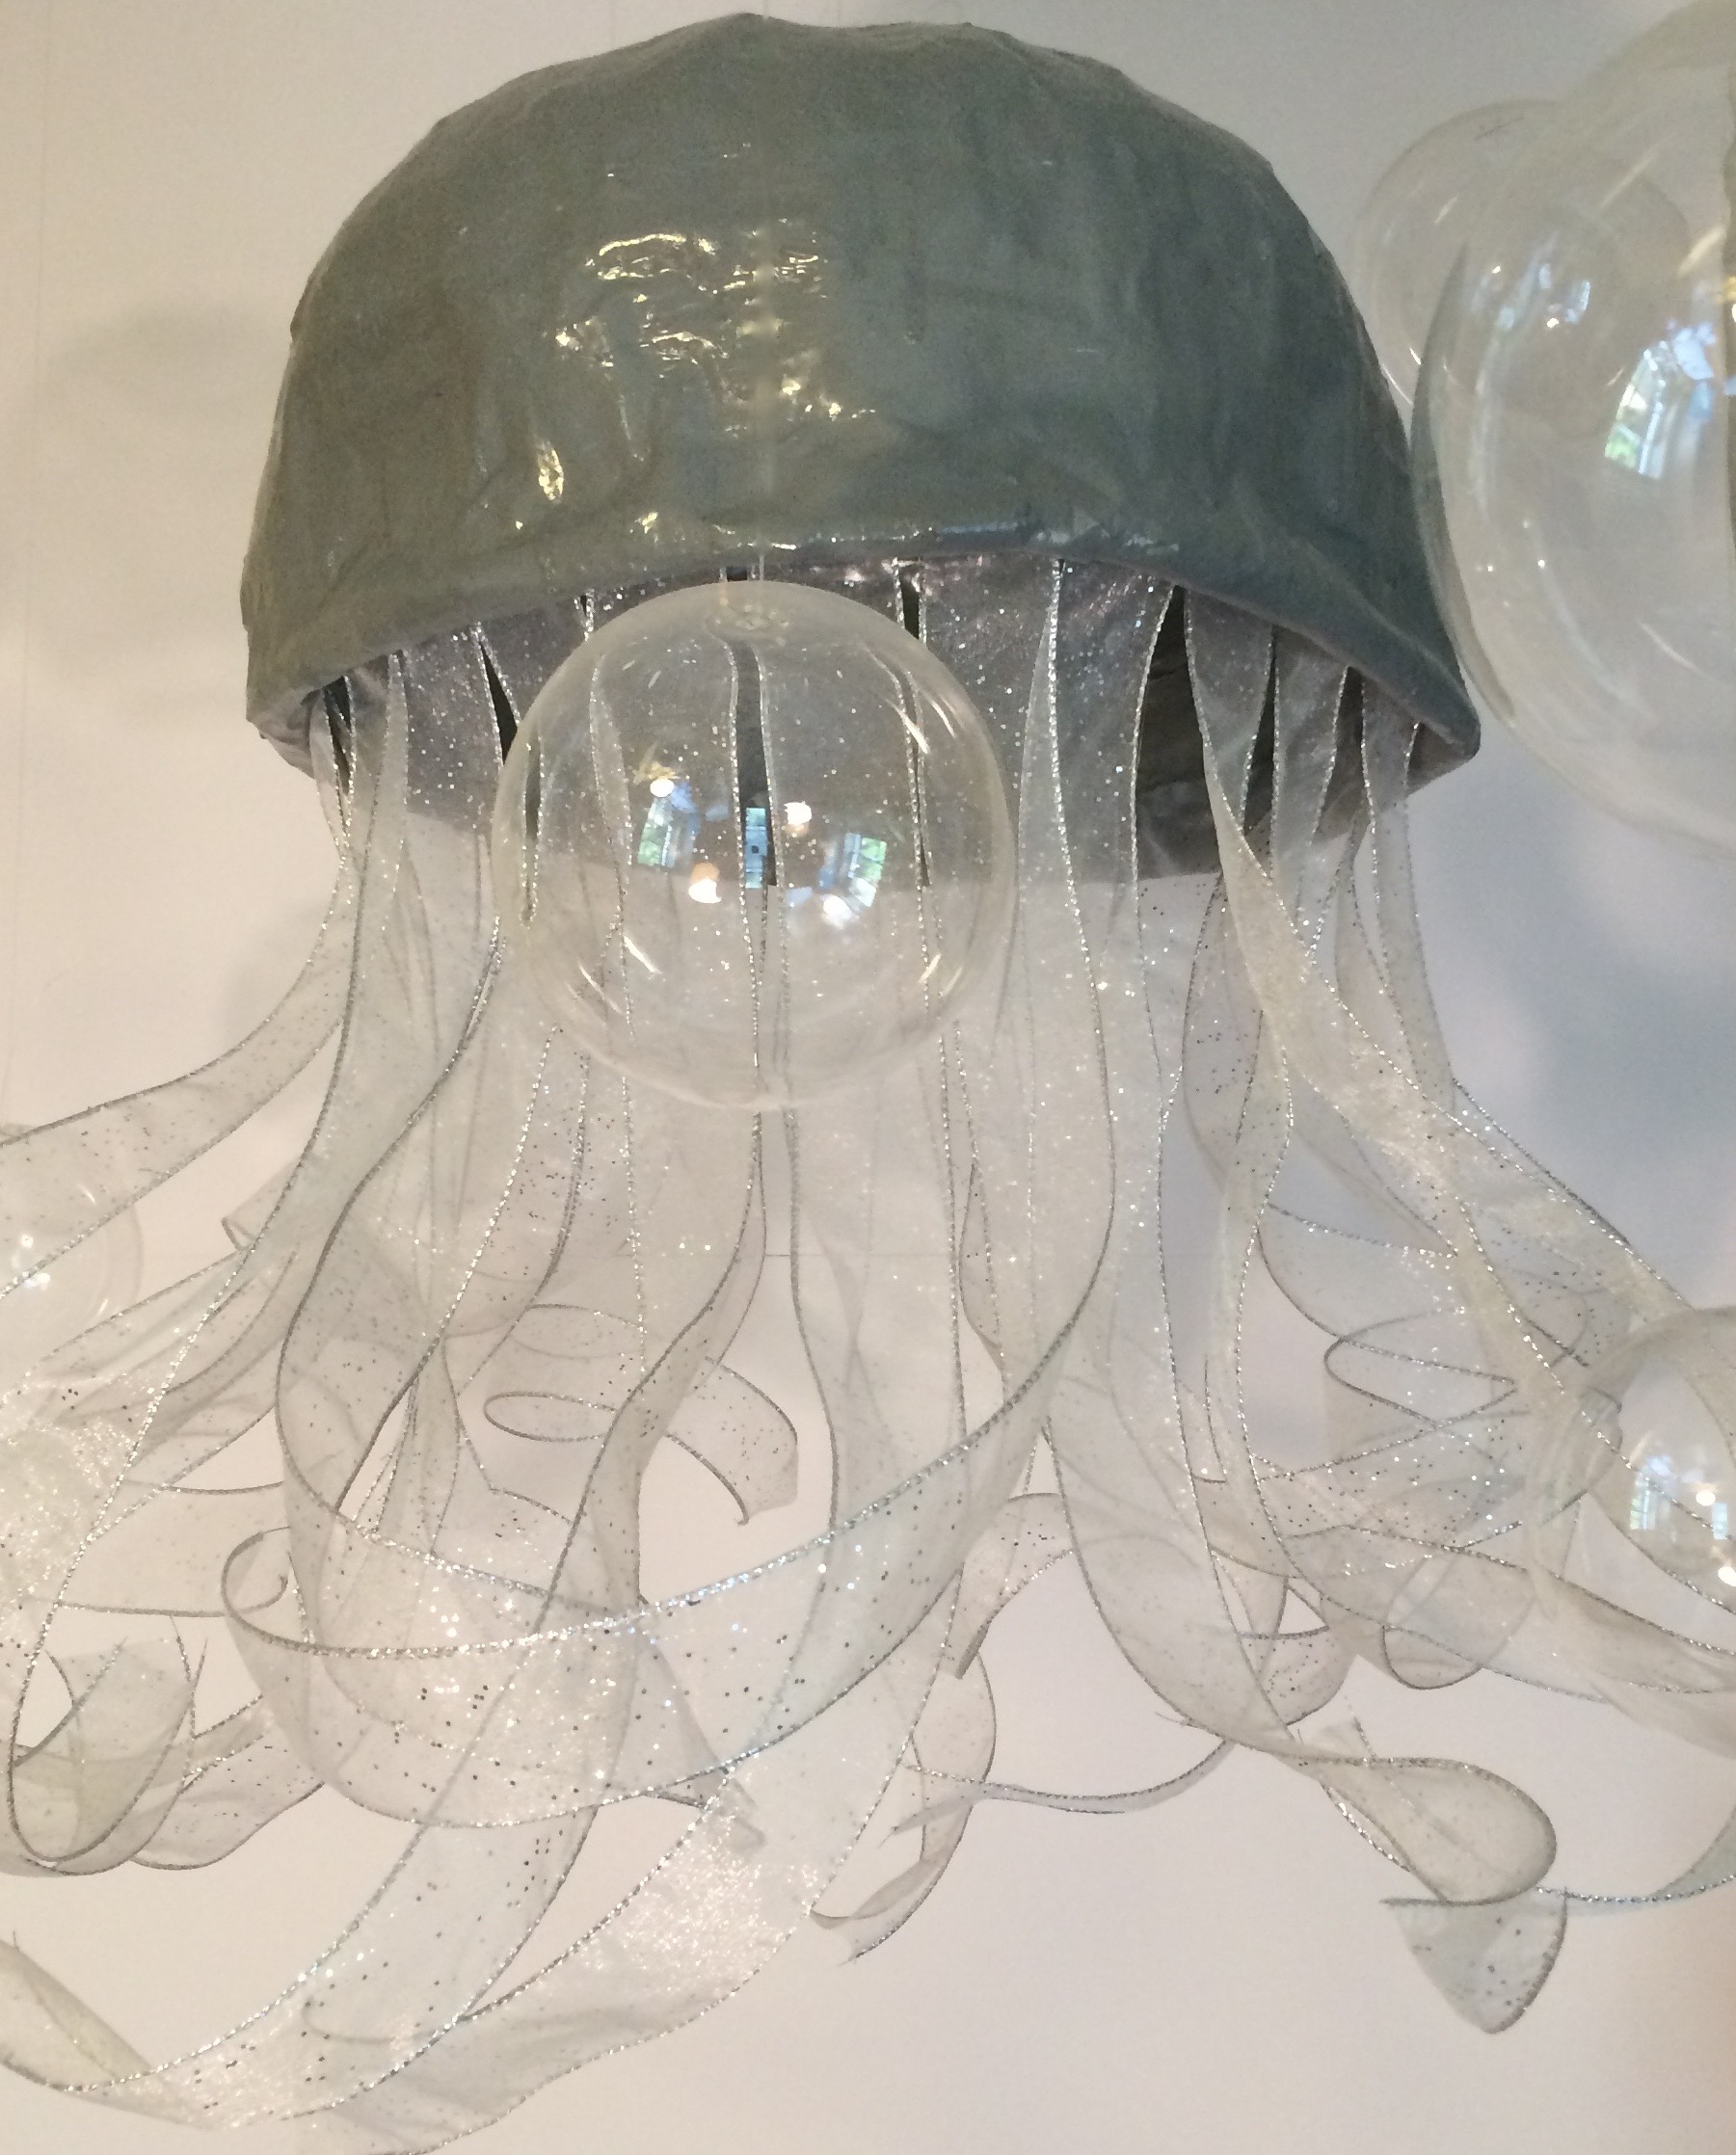
To make a jellyfish at home using paper mâché you will need the following:
- A flat disc shaped mylar ballon, can be found at any party store
- Several bottles of white craft glue such as Elmer’s
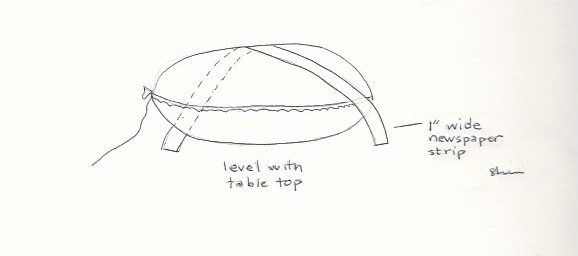
- Newspaper torn into 1” wide strips
- Large bowl
- Fishing line
- Paint, I used gray
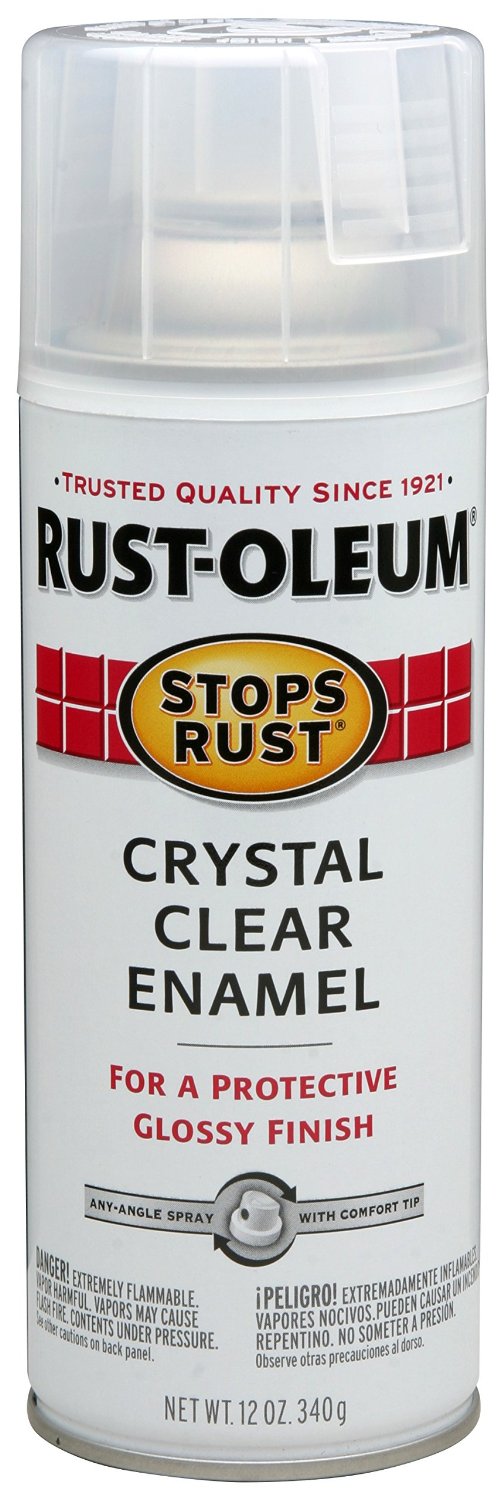
- Shellac
- Waxed paper
- Hot glue gun
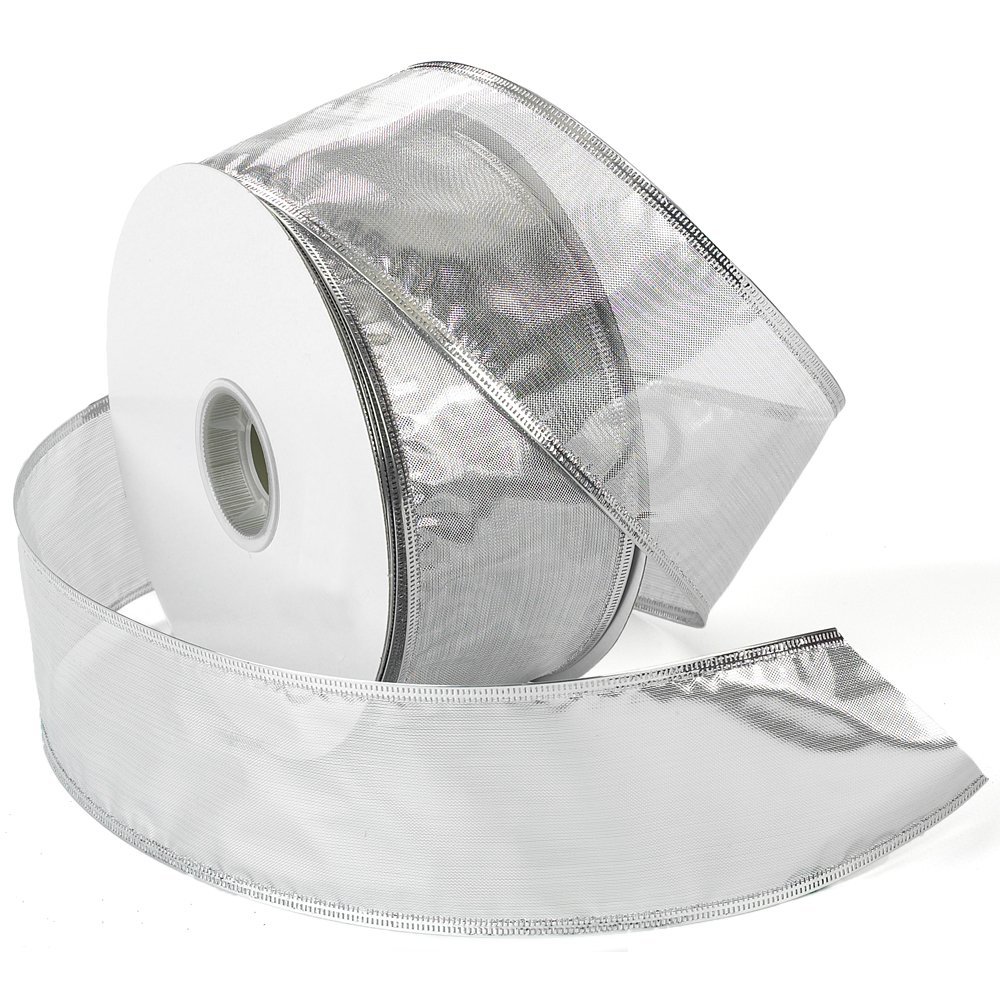
- Translucent wire ribbon
First cover your workspace with waxed paper. The glue and newspaper can be messy to clean up. To tear the newspaper into 1” strips, I placed a metal ruler on top of 3 sheets of newspaper at a time. Then while bracing the ruler I pulled up all three sheets at once making 3 strips simultaneously. Once you have the strips made set aside.
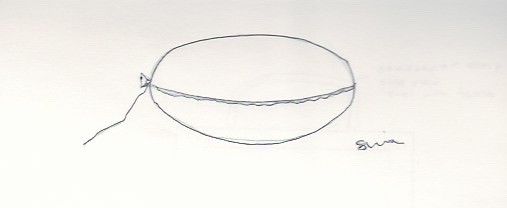
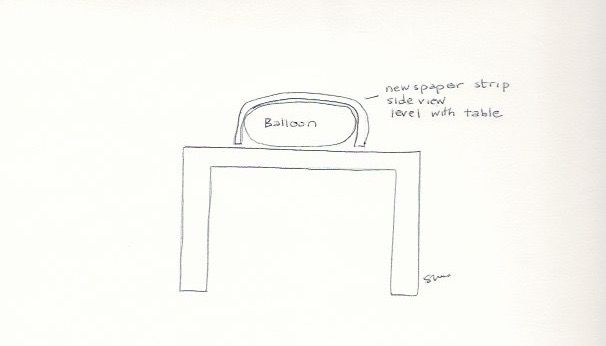
Now empty a bottle of glue in the bowl. Add an equal part water to the bowl. Stir until mixed. Place a strip of newspaper in the bowl and coat completely with glue mixture. Wipe off any excess glue. Then drape the strips across the top of the balloon. See figure below.
Repeat the same procedure and drape in a spiral arrangement. Continue until you have the whole top covered.
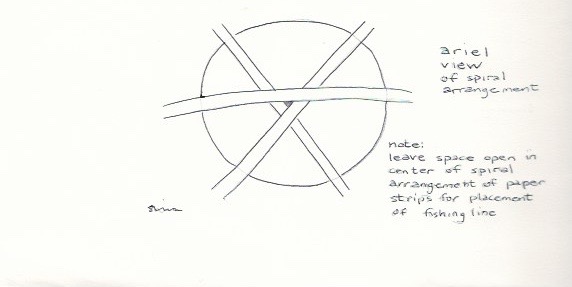
Be sure to cover the entire top but also to leave a whole in the center. Make sure the strips are draped and long enough to be flush with the top of the table top. Let dry.
You may repeat the process a second time for extra strength and integrity of the jellyfish.
Once dry, flip it over and gently remove the balloon. Insert some fishing line so you can use it later to suspend the jellyfish from the ceiling. Cover around the fishing line hole with some additional newspaper strips for a more finished look. Let dry.
Now place the jellyfish on a tall form, ideally something that can be cleaned easily or discarded- perhaps from your recycle bin?
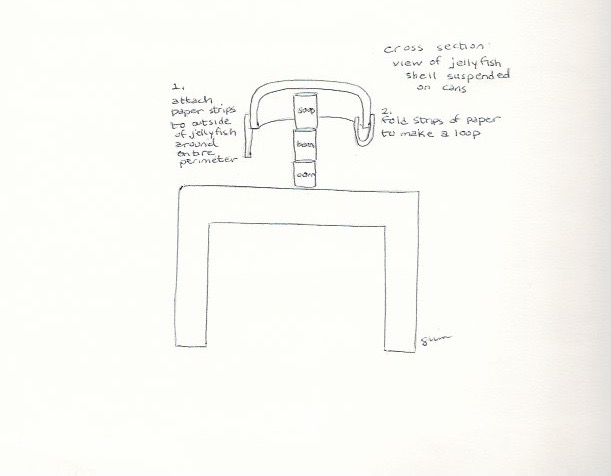
Now take some 1” x 4” long newspaper strips and attach them to the outside of the jellyfish.
Then loop the small strip on itself to join inside the jellyfish making a rounded edge. Continue around the perimeter with the entire edge of the jellyfish is covered. Let dry.
Once you have reviewed your completed form and made touch ups as needed, let dry completely.
Spray paint the interior the color of your choosing, light blue, light purple, or gray all work nicely. Let dry. Pain the exterior. Let dry. Repeat the same process with the shellac.
Cut ribbon into strips the desired length. For this project I picked a translucent silver ribbon with silver sparkels embedded in it for additional sparkle. Using a hot glue gun attach the ribbon to the interior rim of the jellyfish.
Once dry, we screwed an eyehook into the ceiling and hung the fishing line through it.
Supplies used.


Pingback: Children’s Theme Room: Under the Sea | Elegant Inspired Living
Nice post. I’ll be back.
I’m amazed with this site. I’m a fan.
Your post is very appealing. I have spent a lot of my spare time reading your articles. Thanks for sharing!
Thank you!
Fabulous website! Very informative. Keep it up.
I really enjoy your website. It’s very easy on the eyes. Excellent work!
Thank you for sharing.
Wow, superb blog. The overall look of your site is wonderful and so is the content!
I like this blog so much, I saved it to my bookmarks.
It’s nice to read this blog
Great post.
After I found this website I went on reddit to share it with others.
This is very informative!
Just want to say your article is as amazing.
Great article.
Excellent explanation.
Its like you read my mind! You seem to know so much about this. This is an excellent blog. And an excellent read. I’ll certainly be back.
A huge thumbs up for the great info you’ve got on this post.