There is nothing quite like a vine ripened tomato, a crunchy pepper, or fresh broccoli picked from your own garden. If you’re like me, you may have dabbled in growing vegetables during the summer. I have historically placed ours at the edge of the yard only to have neighboring trees mature and reduce the necessary sunlight. I tirelessly have amended our clay soil to see less than satisfactory carrots and production in general. I have reduced my plantings to fit into containers covering the patio to provide optimal soil and sunlight with a soaker hose on a timer to address the frequent watering that small containers require. (This worked well until we returned from vacation to see it had been knocked off the planter). Invariably, something happens. Through many trials and much error, we now have had a garden successful enough to provide for our needs and share with the last few years. At the urging of many I am sharing what is now working. It is working so beautifully in fact that we actually bought no salad greens at all last summer. This is saying a lot as we have salad almost every day.
First the raised bed itself…

Initially I was going to use railroad ties for my frame. I like the idea of salvaging materials and repurposing them. After some investigation, I found that they were toxic. So toxic in fact that the FDA had outlawed them for home use. Railroad ties are made of wood preserved with Creosote, a byproduct of the distillation of coal and wood tar. Direct exposure to the skin is considered toxic and includes chemical burns and cancer. Additionally, creosote can dissolve in water. As it takes many years to decompose, it can affect, insects, pets, and humans long after it is removed. It can persist in soil for decades. As such, it is poisonous to garden vegetables and a poor choice where bare hands can come into contact with them. They can also leak into children’s play areas. For more detailed reading refer to the EPA and CDC government websites.

I then looked into wood alternatives. Typically for outdoor projects, pressure treated lumbar is called for. Unfortunately it leaches toxic chemicals into the soil thus negating the benefit of having home grown vegetables.
Then I looked into redwood as an option. This varies regionally, but in our area, the mid-atlantic, there are no local sources making it a bit pricy.
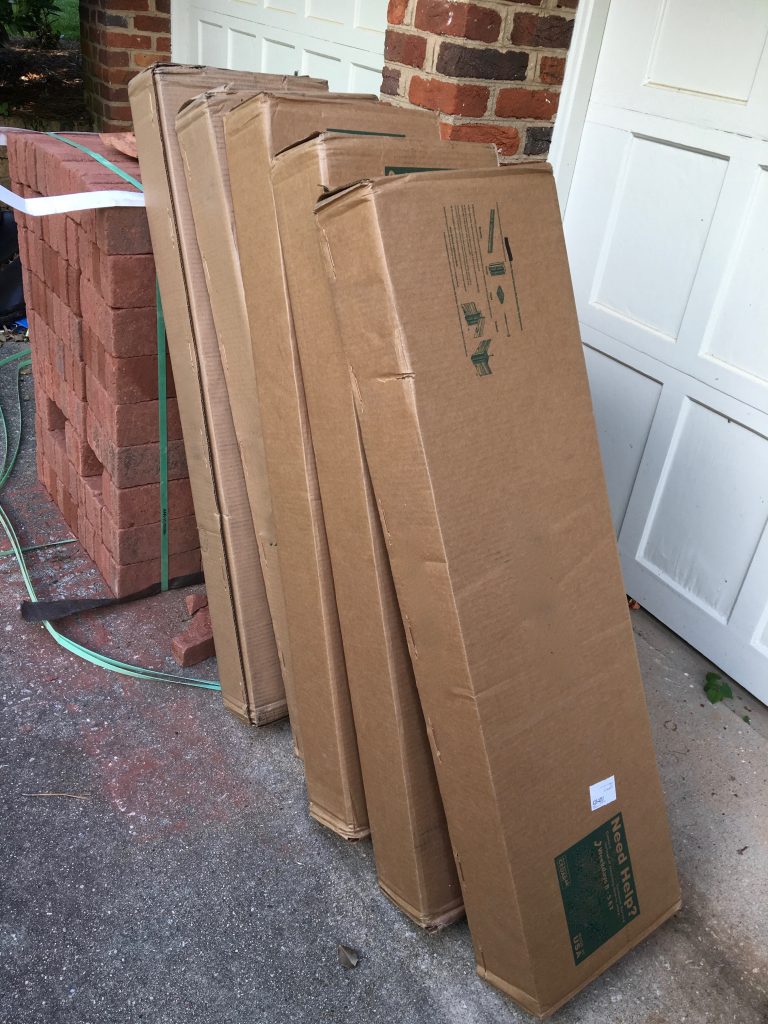
I finally settled on cedar. I actually prefer the look of this to the other choices above but had discounted it as I assumed it would be cost prohibitive. I have a local lumbar yard I’ve done many projects with, but when getting a cost estimate, found it would also be quite costly. After much looking however, I found the perfect solution: an attractive, easy to assemble, reasonably priced kit.
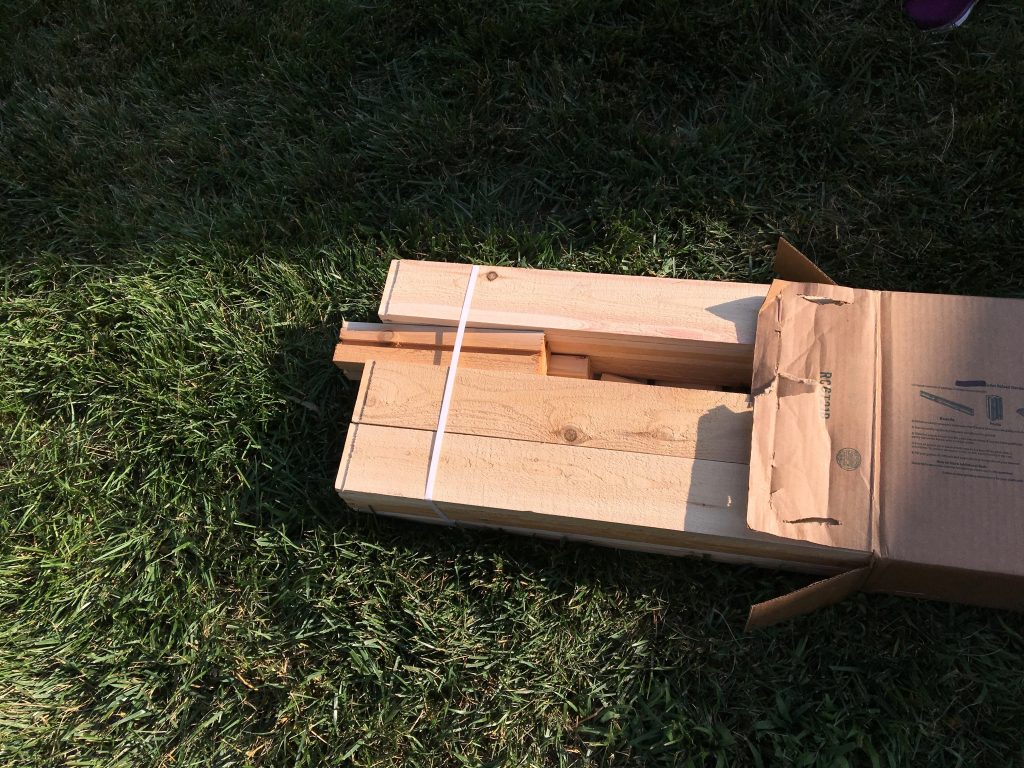
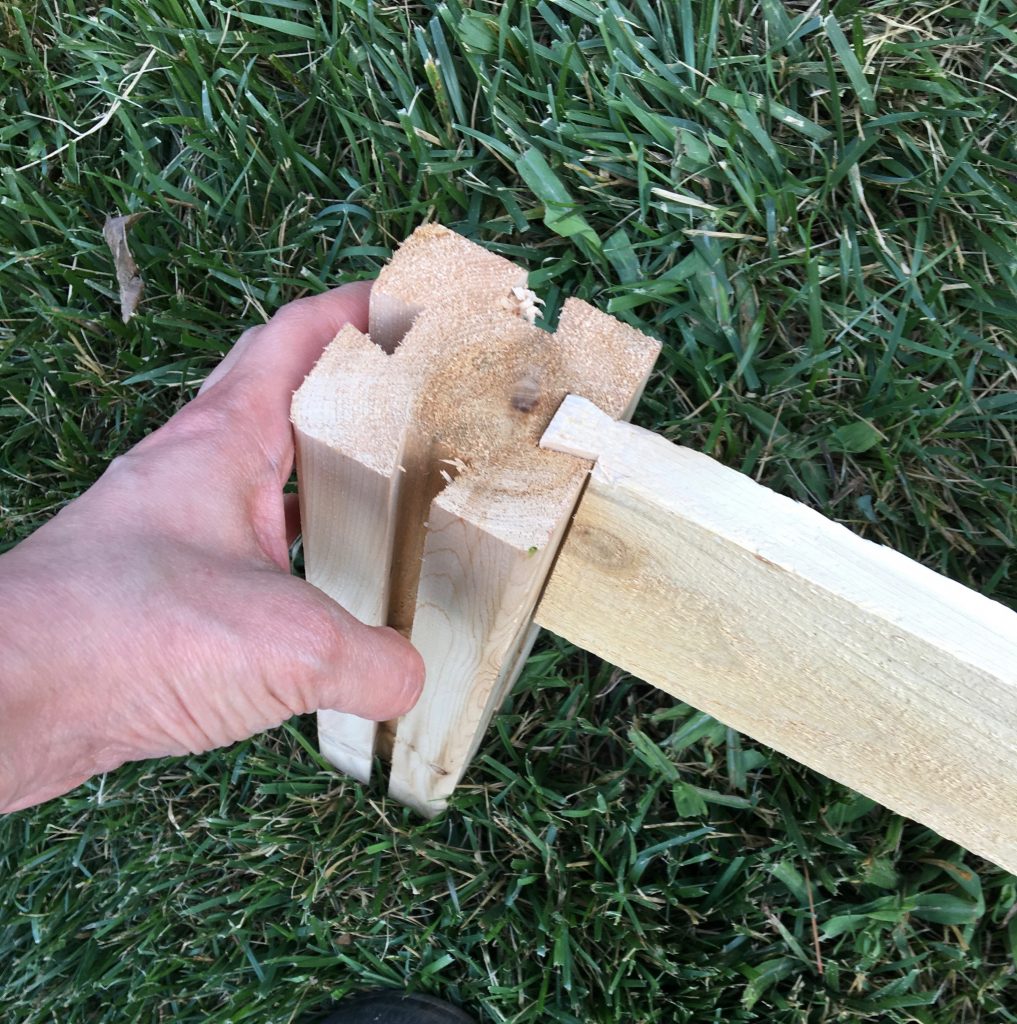
It includes everything you need for assembly.
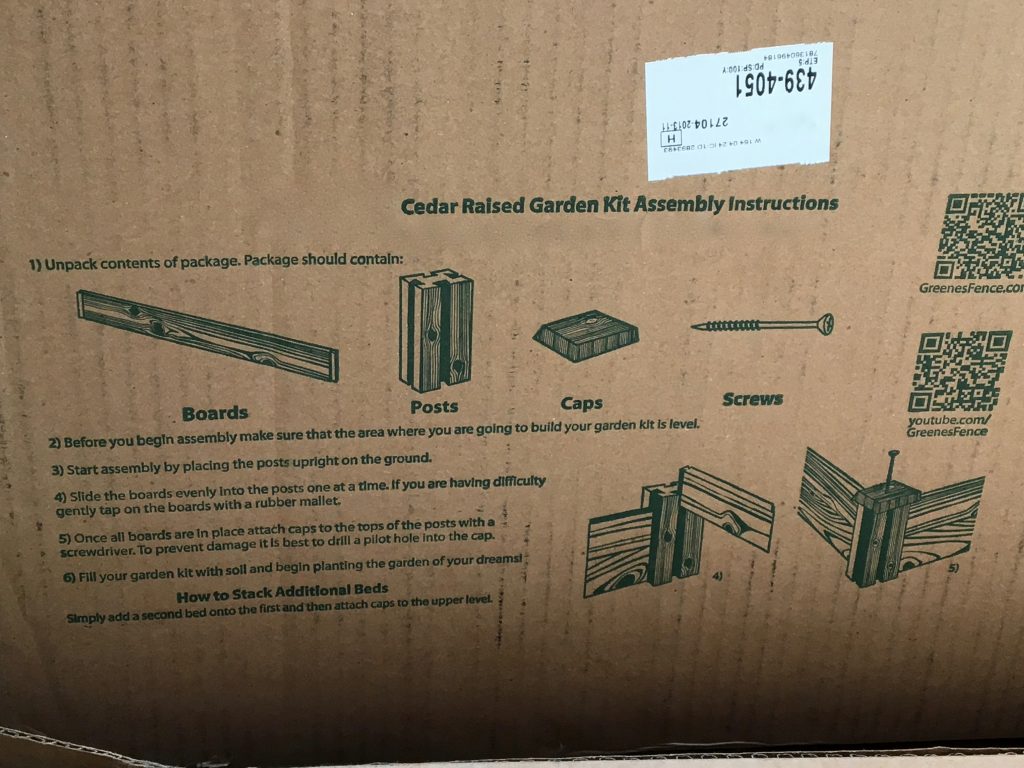
An added plus is that it is very easy to assemble.
How many kits you need is determined by how much you wish to produce. For a family of four, six 4×4 planters is a good starting point. I have tried three planters, but you just end up with a taste of things, but not enough to really enjoy. Honestly, I found that if I had to buy store bought produce to supplement scant garden produce, I could not taste them and ultimately lost interest in the harvest.
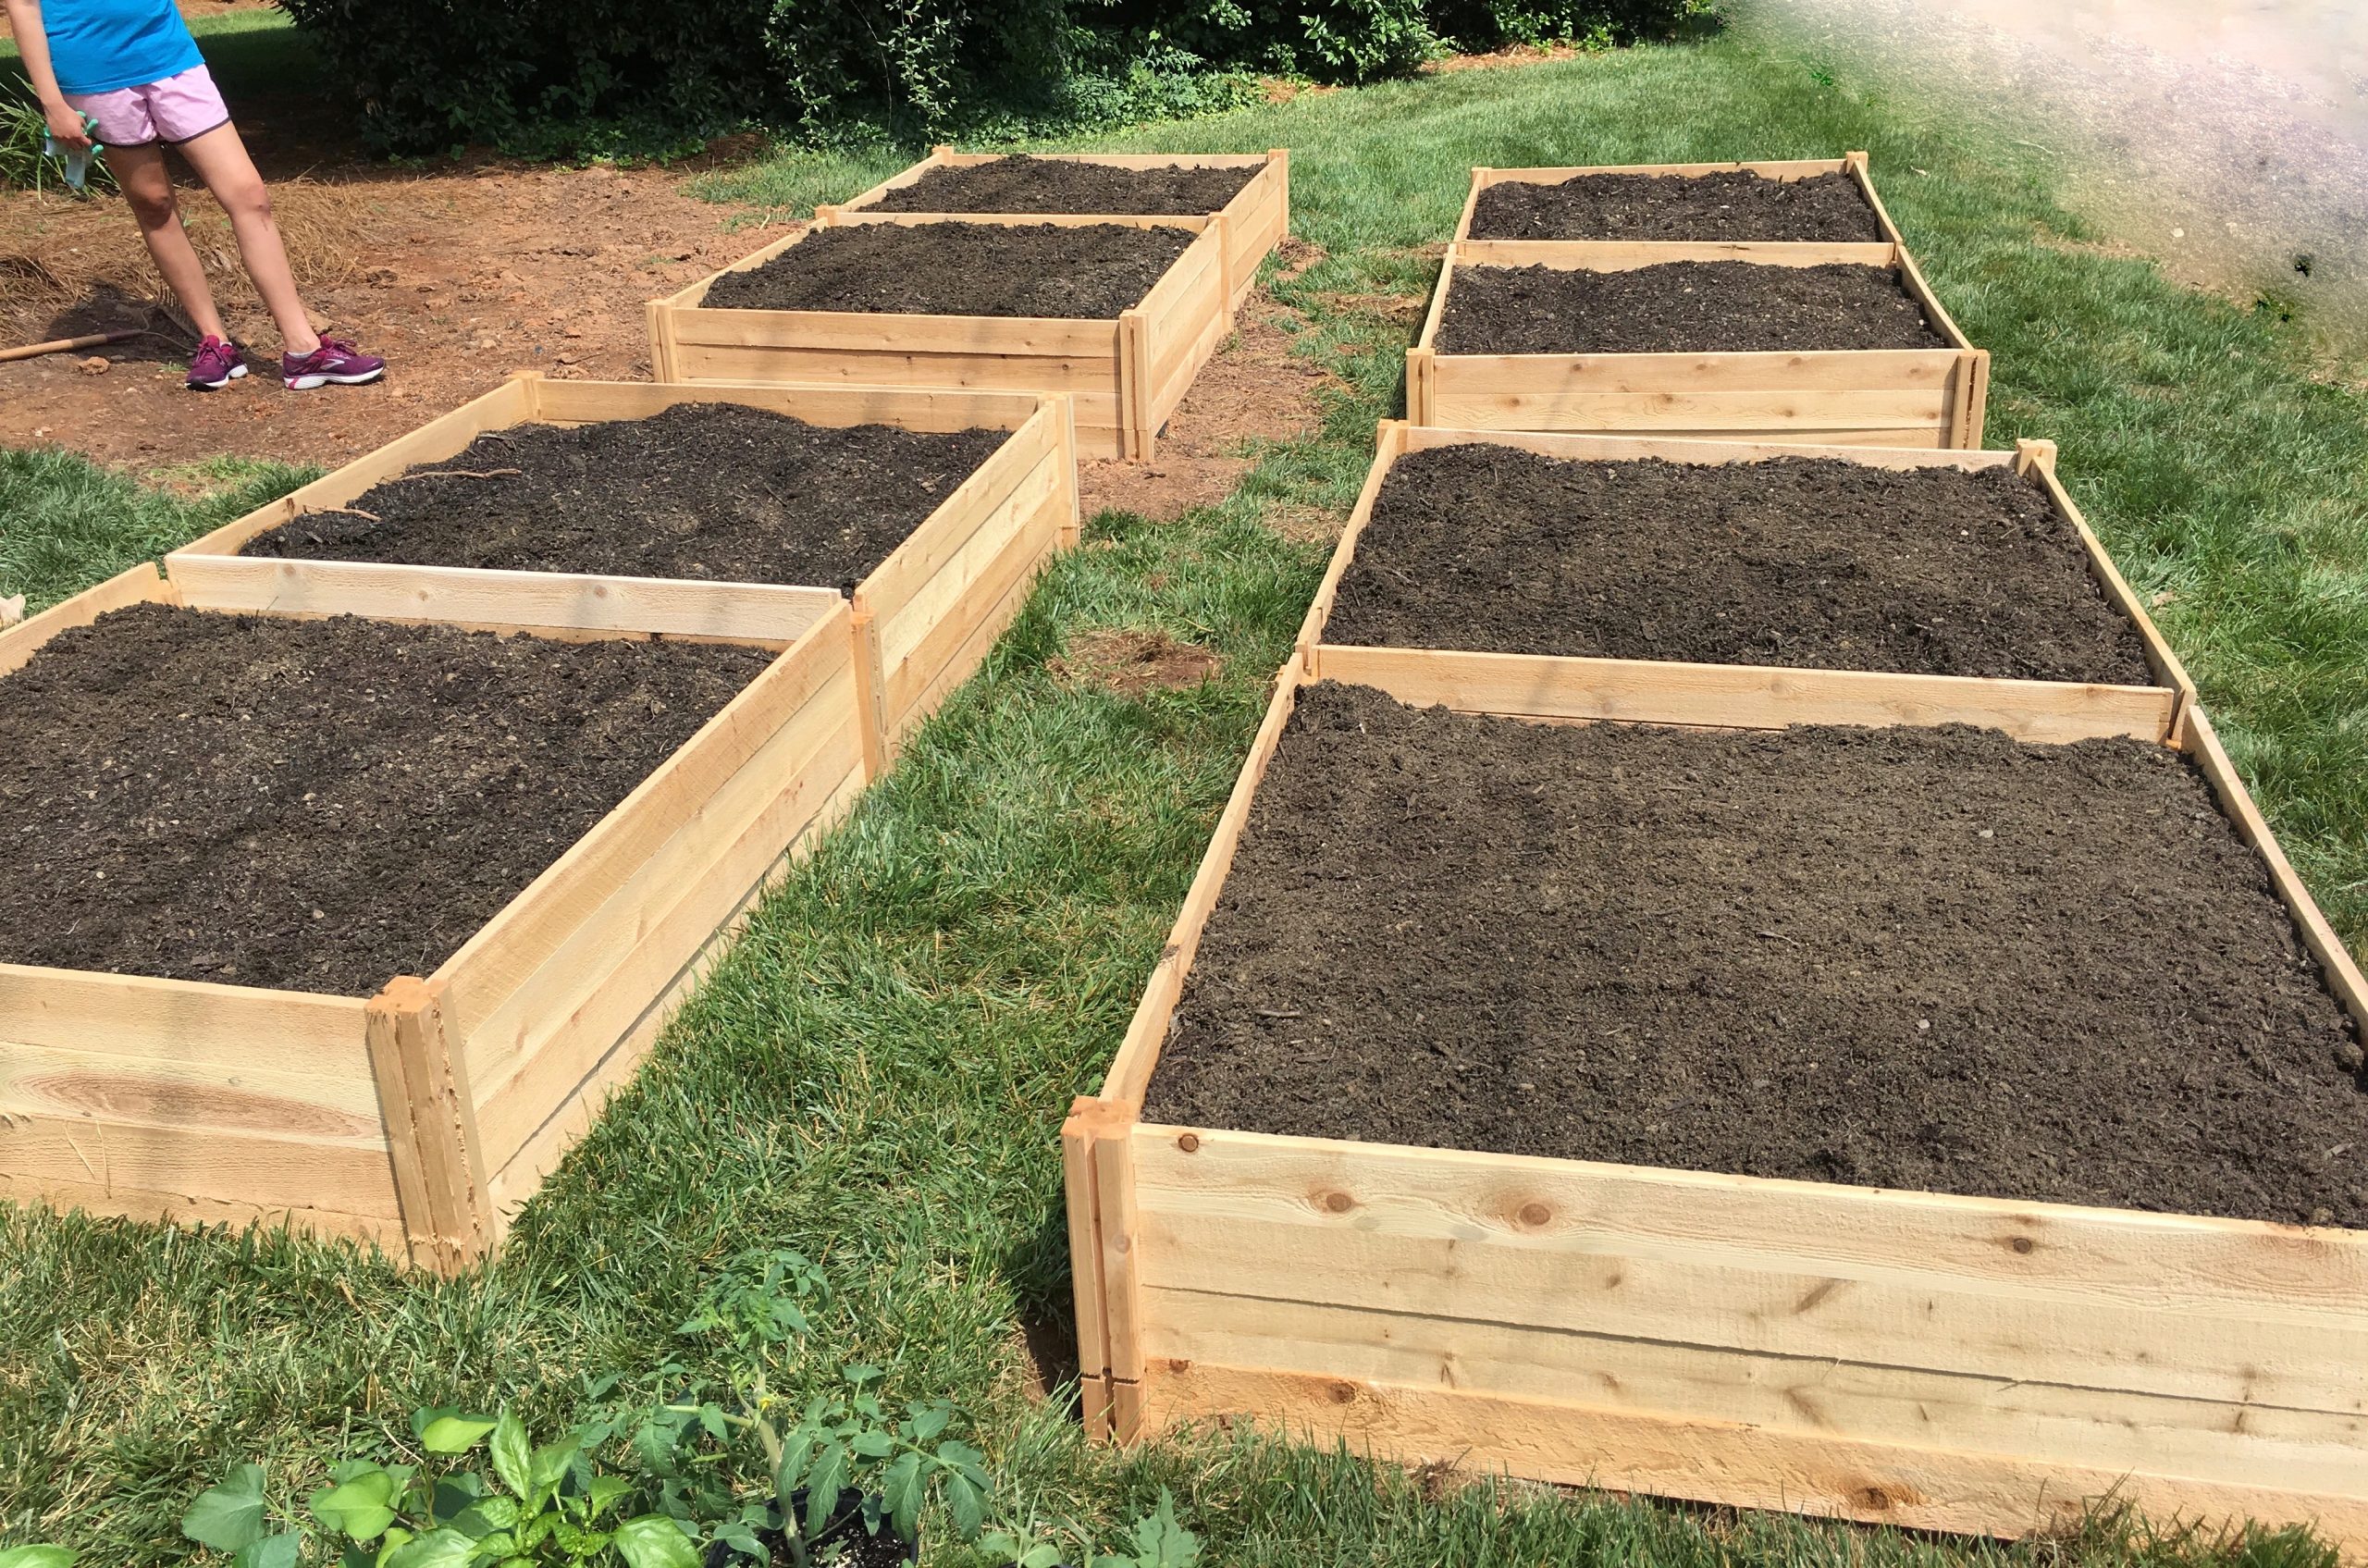
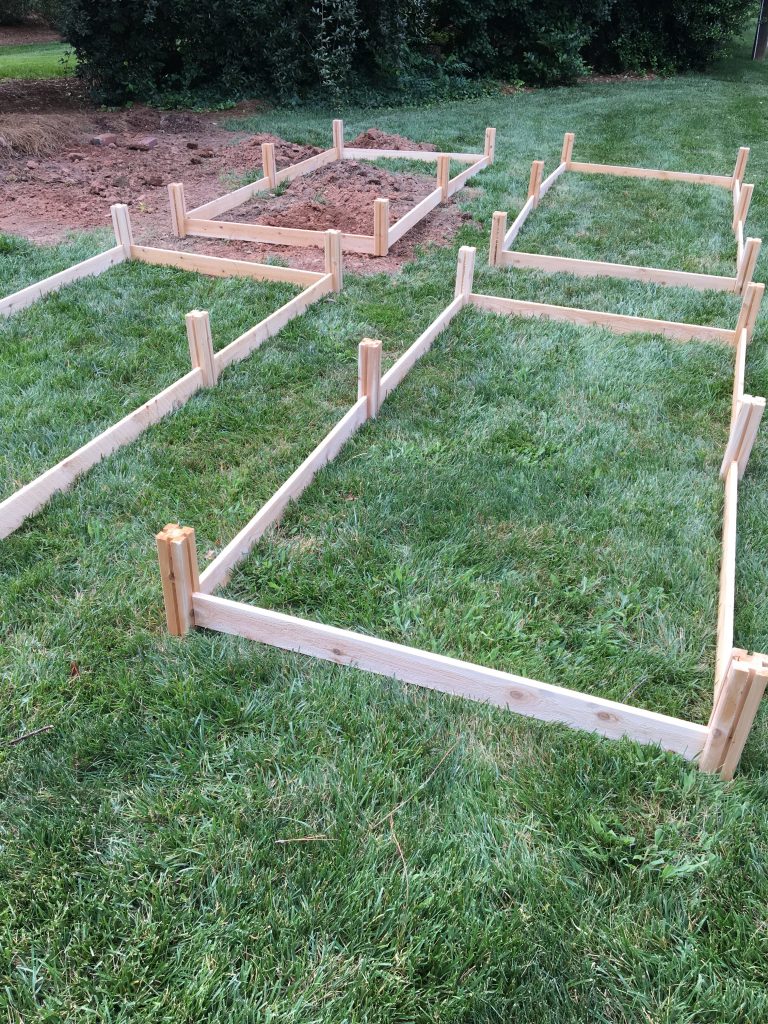
You need to set up your planting boxes in multiples of three for annual crop rotations. I settled on six planter, that is 3 pairs. I will explain crop rotation in a future post and will share my garden guide as well.
I also added a fourth box. You do not need this for rotating crops. But, if you want to plant some vegetables that return year after year such as asparagus, rhubarb, or artichoke, it is much simpler to have a dedicated box for this. Otherwise, you run the risk repeatedly disturbing these plants or worse yet, of forgetting which bed you used and uprooting your plants entirely. This being said, I made four pairs of raised bed gardens for a total of eight planting boxes.
I found it easier to group them as pairs as they held plants from the same plant groups, for example a nightshade box for tomatoes/ peppers/ eggplants, a mustard box for broccoli/ cabbage/ cauliflower, a gourd box for cucumber/ cantaloupe/ squash, etc. I will detail the planting guide on an upcoming post.
After ordering the kits, while awaiting their arrival, I planned the layout of my garden. The 4×4′ size is great because it allow enough room to grow a meaningful quantity of produce while making it accessible enough to reach to plant and harvest without walking on or otherwise disturbing the soil. This size is good for a single person or a couple. For a family size box, I planned for 2 adjacent 4×4 boxes resulting in 4×8 boxes.
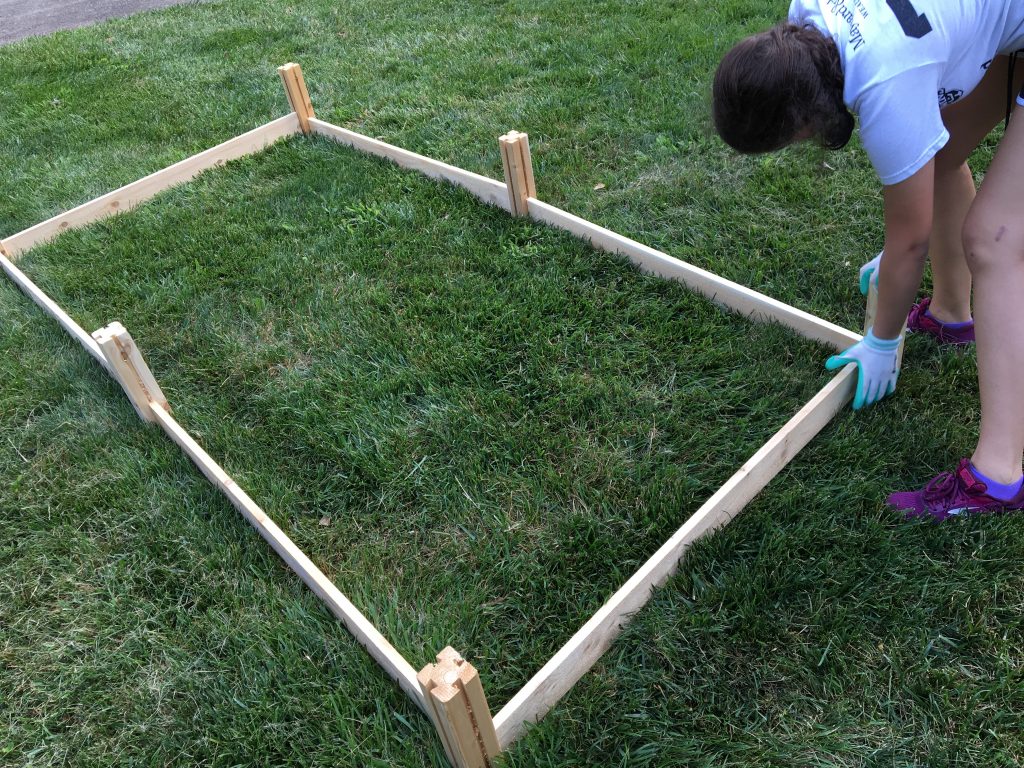
Next, I planned my walking paths. I wanted it to be wide enough to walk freely, while maximizing the growing space. I allowed 27″ along the center of the plots. I allowed slightly more room along the edges of the raised beds. These areas I allowed 32″ for a walking path.

Once the site is laid out, you merely stack the supplied boards.
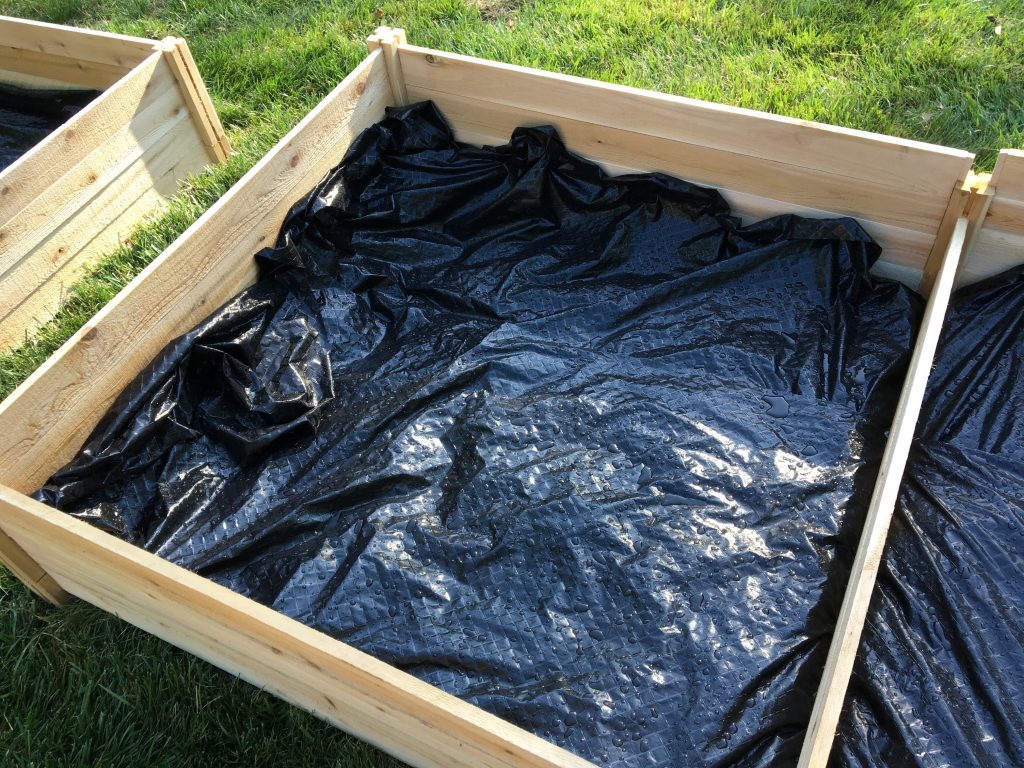
Next, line the bottom with a weed cloth barrier. This will save a lot of time down the road.
The choice of fill dirt is very important. Given the amount needed, I called a local soil delivery company and requested a load of 50/50 topsoil and compost. You should ask for 2 yards of each, mixed.
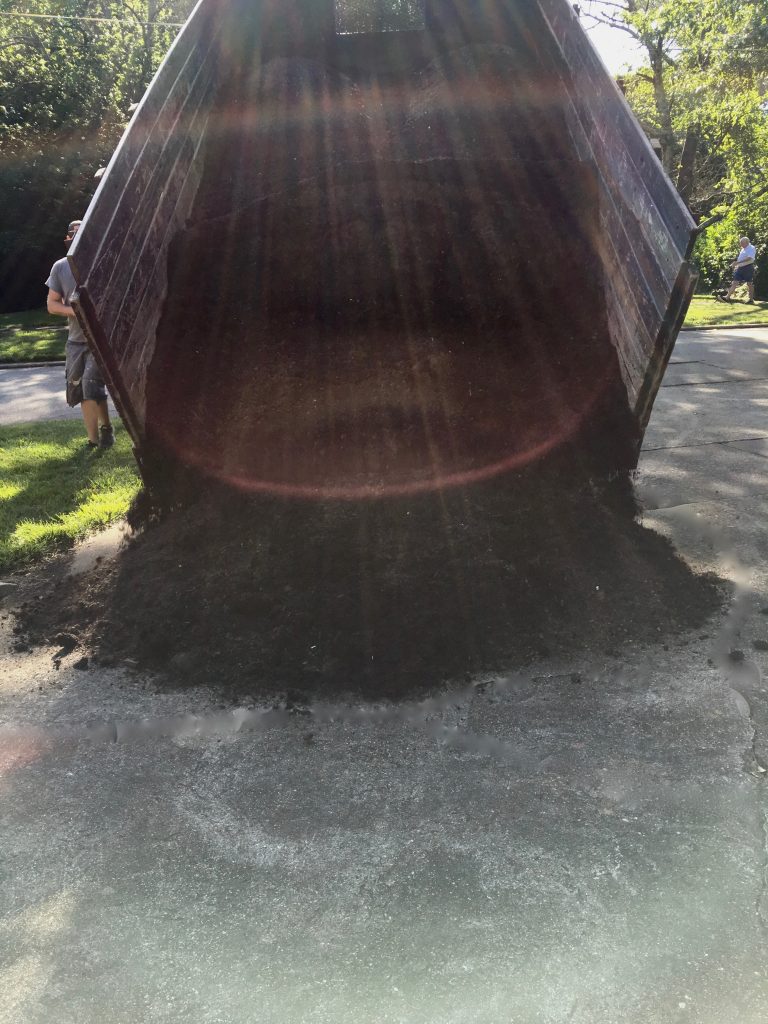
This is truly black gold. Everything grows at a phenomenal rate as you will see in upcoming posts. I have added no fertilizer to this garden and the yield continues to be tremendous. The soil composition is key.
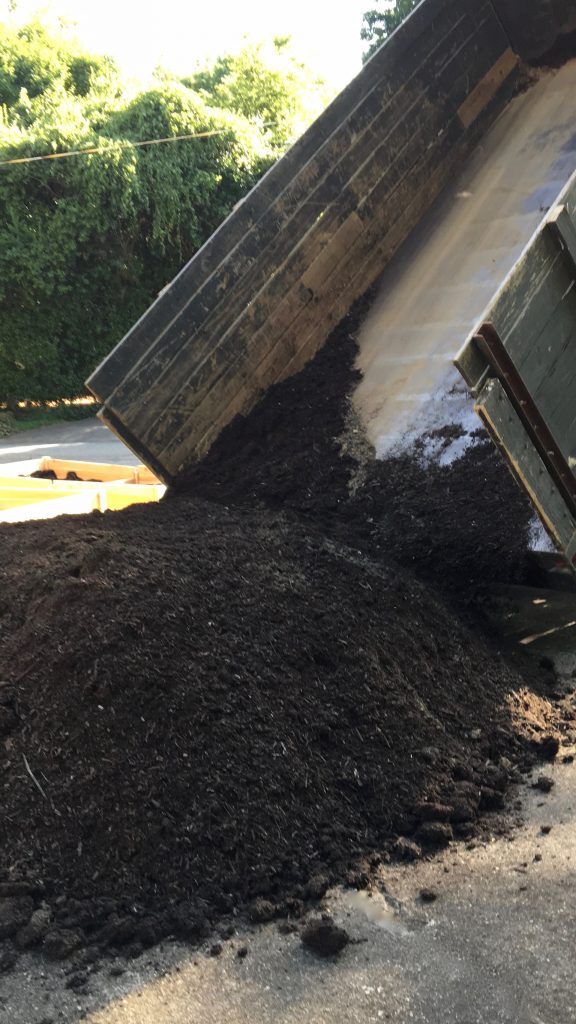
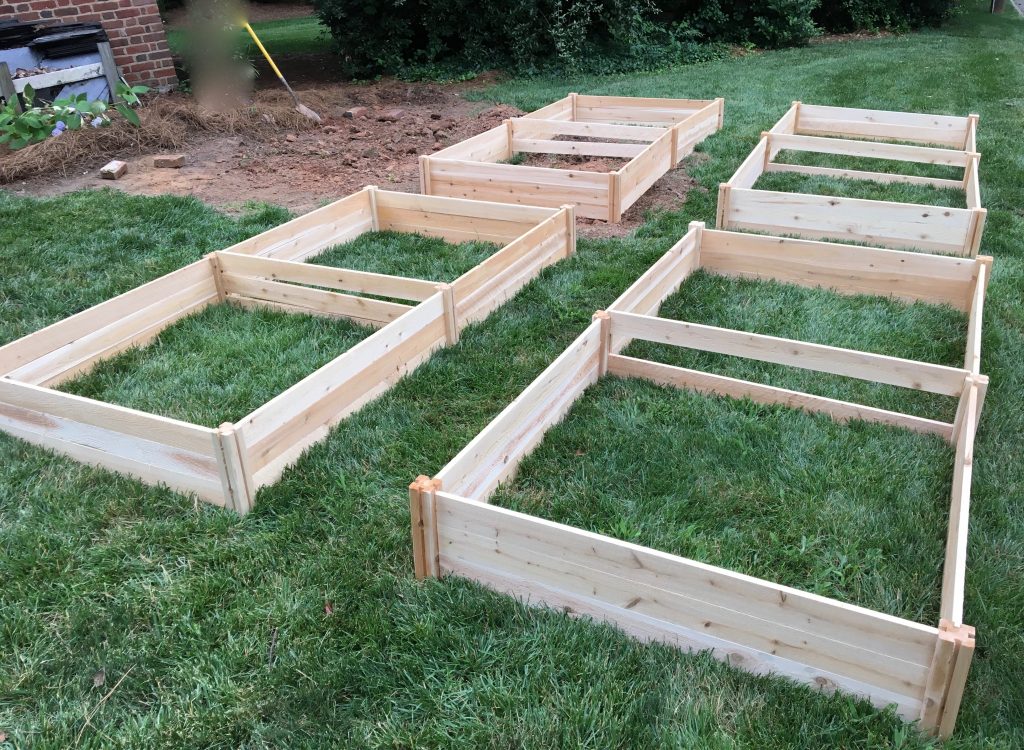
All that is left is the filling of the raised beds. One load was sufficient for the 8 4×4 boxes this project.
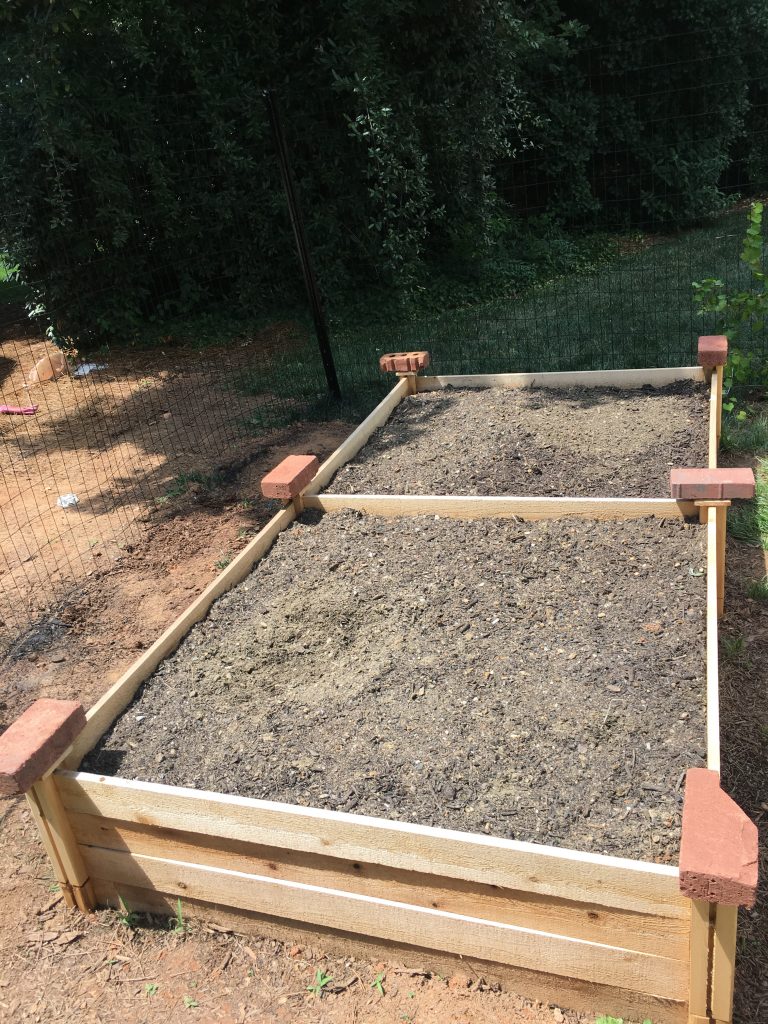
For a nice finished look, you can afix the end caps with glue and weigh them down with brick until they dry. I did not nail them as I did not want to risk the wood cracking.
I will detail animal deterrents, planting guide, special plants, and plant supports on subsequent post.
If you are interested in any of the items above, you may click on the images below for sourcing.
A critical part of the garden, the weed barrier, it will save lots of time down the road. I have been using these tarps to transport soil and weeds for years. They are my favorite! Wells Lamont gloves are a nice balance between protecting your hands while still feeling what you are handling. A watering wand with gentle sprinkling head is key for all new plantings.
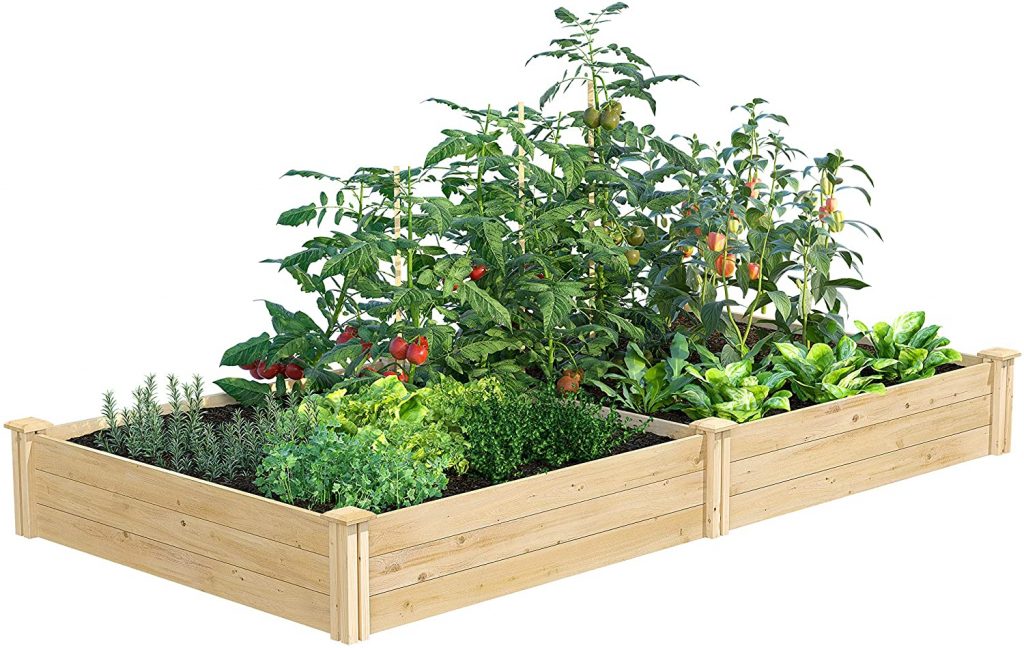
Cedar raised bed 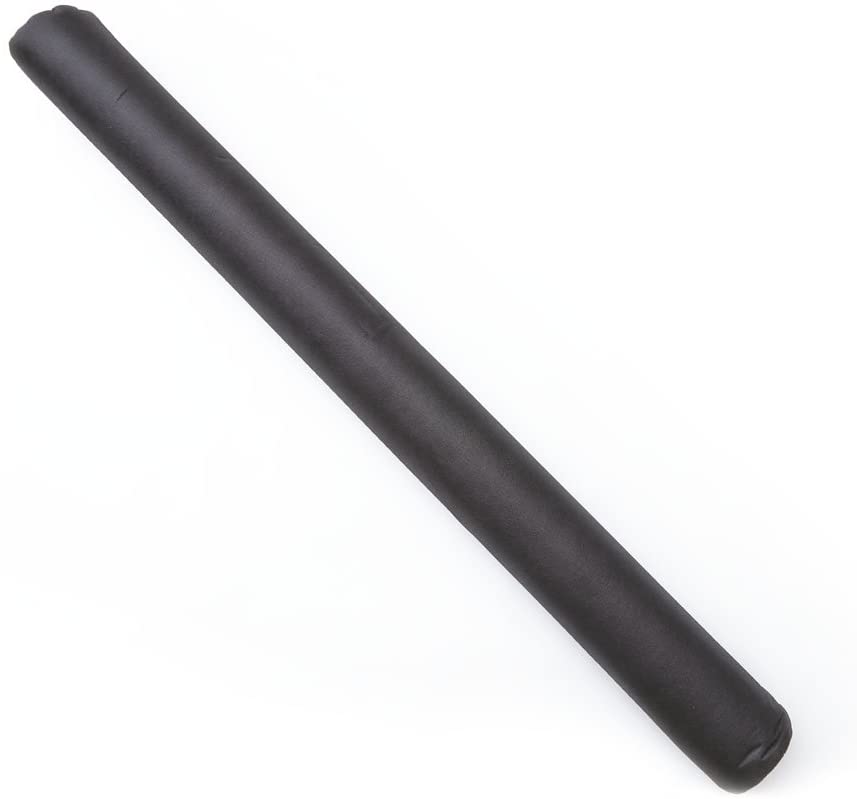
Weed barrier 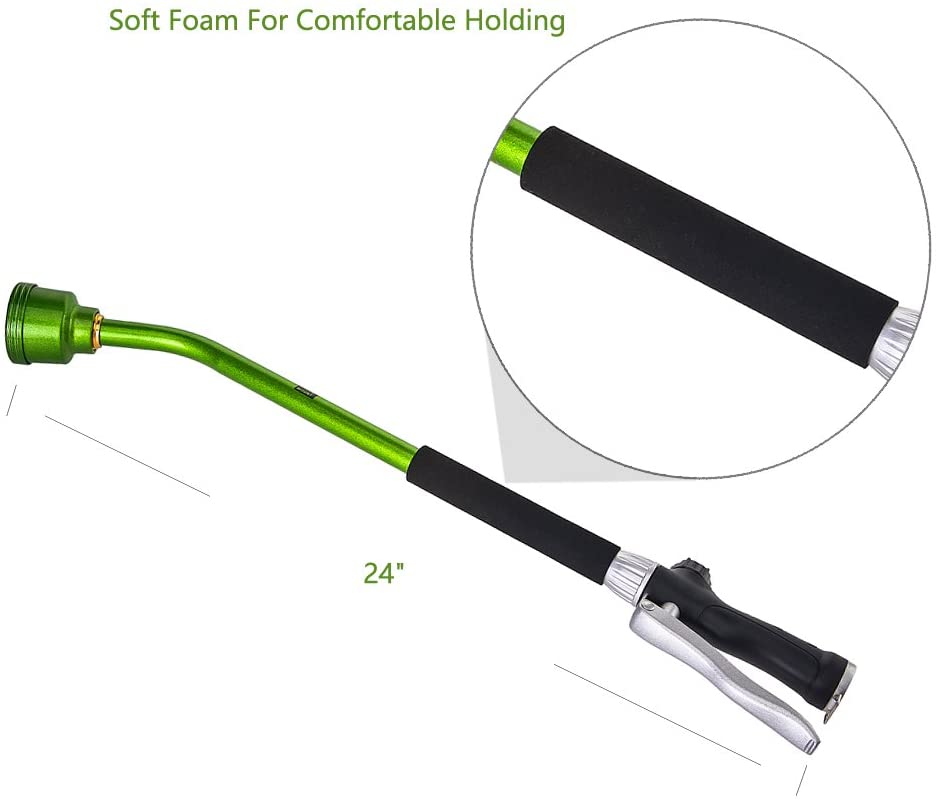

Best for garden hauls 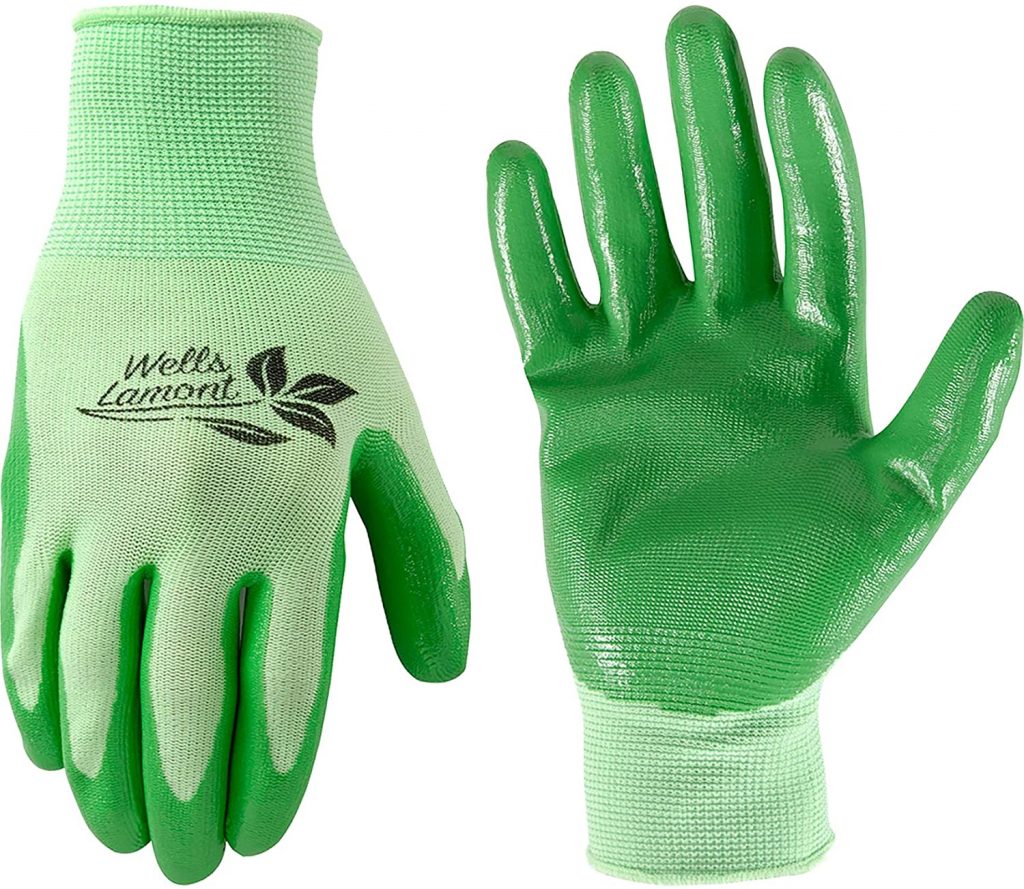
Balanced hand protection 
The definitive resource
additional images above courtesy of:
http://s3.amazonaws.com/buildurland/raised-garden-bed-railroad-ties.html, https://www.treatedwood.com/woodchat/yes-use-pressure-treated-lumber-for-your-raised-garden-beds, https://www.customraisedgardens.com/style-3.html


Great that you have started to share your usesful informations with us
about your gardening. What energy!
Thank you for this insightful post! The background on frame materials made for an interesting read; and the direct links to Amazon listings makes for an exceptionally convenient experience. Do you think the benefits of a raised garden outweigh those of an in-ground garden in all cases? We happen to have access to a roto-tiller and suspect that an in-ground setup will have lower water consumption and may be easier to irrigate.
Hi Thomas,
We have also tilled the ground on several occasions. The garden does ok the first year. Unfortunately, despite best efforts, typically the ground gets walked on and the soil compacted.
Furthermore, you are always starting with a significant portion of ‘ground’, in our case clay, which is never as good as the topsoil and compost mixture which truly is black gold.
Additionally, I am not a fan of watering, at all. I have found the joy of visiting the garden takes me there almost daily and is a convenient time to tend to the watering task. I just leave the watering wand attached to the garden hose and it takes less than 10 minutes to water. As there is no clay in the bed, the water is well absorbed and distributed instead of getting bound up in the clay. We also have irrigation set up which does well with the raised beds, particularly when we are out of town. Hope this helps.
What a timely post. I am just getting started, so your tips are really helpful. Thank you! I live on the east coast in Maryland, which can be rather hot and humid. Do you have suggestions about crops that tend to do well here?
Hi Leila,
My next post will be a planting guide which will work well in your area. Stay tuned for the next post!